The information on these pages may be out of date, or may refer to
resources that have moved or have been made read-only.
For more information please refer to the
Apache Attic

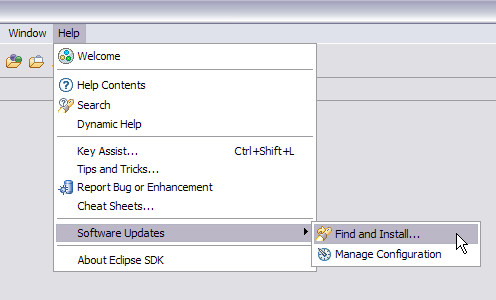
To use Apache Harmony as an installed JRE in Eclipse™ requires an additional plug-in. The following instructions show the installation process using screen shots from Eclipse 3.3 running on Windows XP.
First you must download and install the Apache Harmony support plug-in from our Eclipse update site,
http://harmony.apache.org/eclipse/update
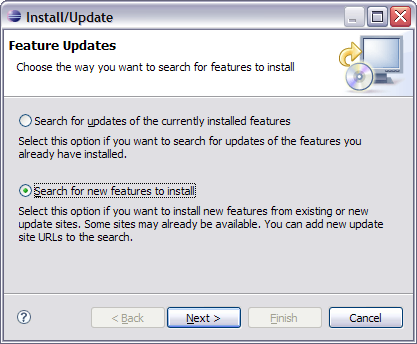
Start by defining the update site as a remote location in the Eclipse
download manager:
The plug-in is a new feature:
Define the Apache Harmony update site as a new Remote Site:
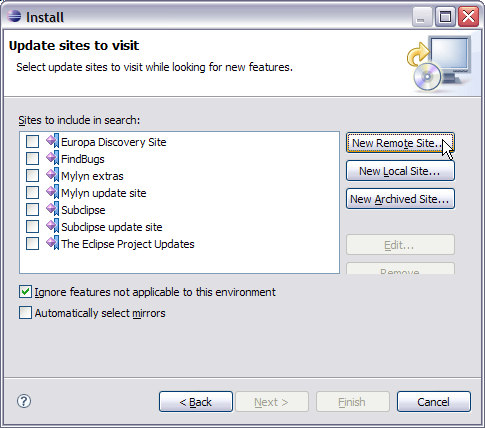
Enter a name of your choice, and the URL
http://harmony.apache.org/eclipse/update
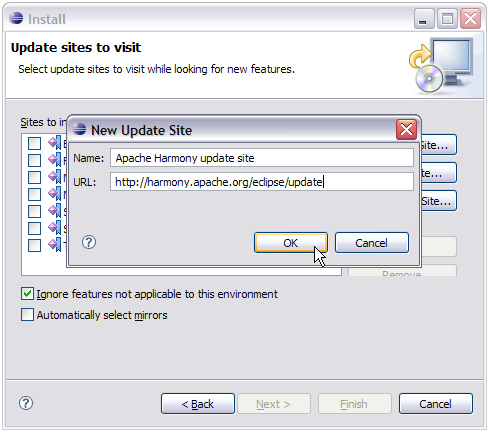
Click OK and Next (or Finish in some cases).
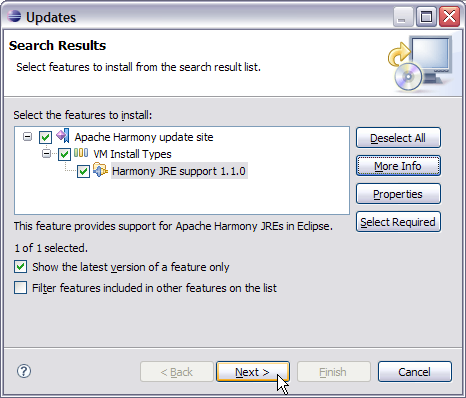
Then after contacting the Apache Harmony website you are presented with
features to install. Select the latest Harmony JRE support feature:
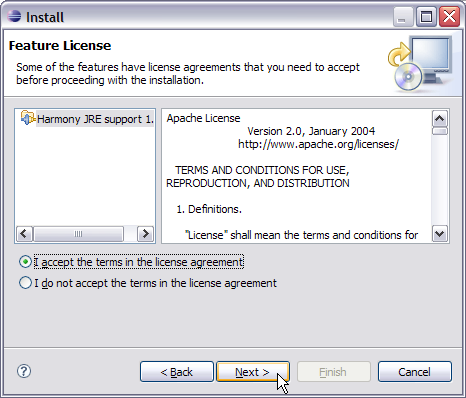
The plug-in is offered under the Apache License v2, which you must
explicitly accept before installing:
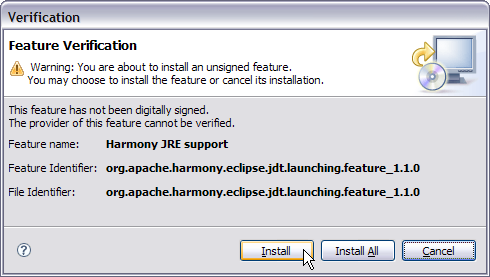
Click Next and Finish. Note that Apache Harmony do not
sign our plug-ins:
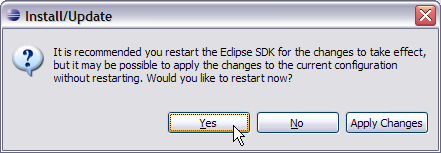
Finally, restart Eclipse to complete the installation of the plug-in:
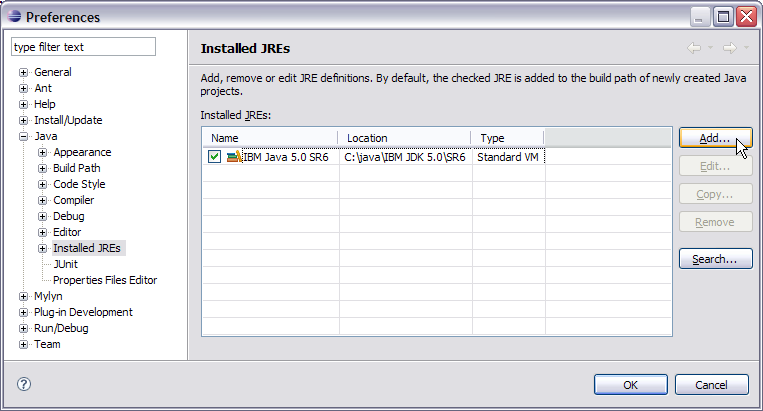
Once the Apache Harmony JRE support plug-in is installed, you can define a new installed JRE type as follows.
From the Window > Preferences... menu select Installed
JREs:
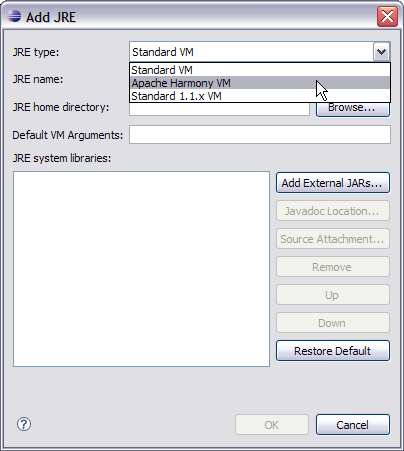
There is now a new JRE type available called Apache Harmony VM:
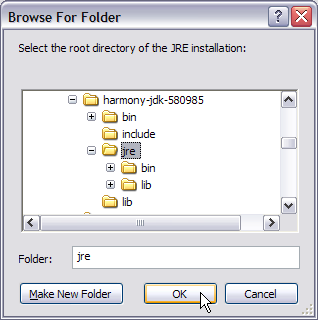
Browse to the Harmony JRE home directory:
The dialog is filled with the Harmony JRE components. Click
OK and you can now develop against, and run with
Apache Harmony.
